Waterbug Surveys
Survey: What to Expect and How to Do a Survey
On survey day, you’ll be working in a small team to collect waterbug samples. You don’t need any previous experience, everything will be explained, and there will always be someone nearby to help!
Here’s how a typical surveys runs:
Arriving to Site
Once you arrive, the team will go through a site risk assessment to check for any potential hazards (like slippery rocks or strong currents). You’ll be shown the safest places to stand and collect samples. Make sure you’re wearing sunscreen, a hat, and weather-appropriate clothes (there will be waders for you to use whilst sampling).
Collecting Waterbugs
Now for the fun part, finding waterbugs! We collect waterbugs from the edge and riffle, here’s how it works:
Edge Collection
To collect edge samples, approach the site from downstream and gently insert the net into the water, scooping slowly upwards near the edge before pulling back quickly. You can disturb the bottom with your foot or net to dislodge hidden bugs, and if the water is cloudy, use a slow figure-eight motion to catch suspended bugs. Continue this process for about 10 metres, rinsing the net periodically to remove excess sediment. Tip the net contents into the same bucket containing 15 cm of creek water, and double-check the net to ensure all bugs have been transferred. Have a look at the video below to see our Waterbug Project Officer Jenna in action!
Riffle Collection
To collect waterbugs using a kick net, approach the riffle from downstream and hold the net facing upstream so that bugs flow into it. Disturb the rocks and streambed with your feet to dislodge bugs, allowing them to drift into the net. Rinse the net regularly to remove silt and continue this process for about 10 metres. When finished, scoop the net out with a forward motion to trap the bugs, then tip the contents into a bucket with about 15 cm of stream water. Finally, check the net to ensure no bugs remain. Have a look at the video below to see our Waterbug Coordinators action!
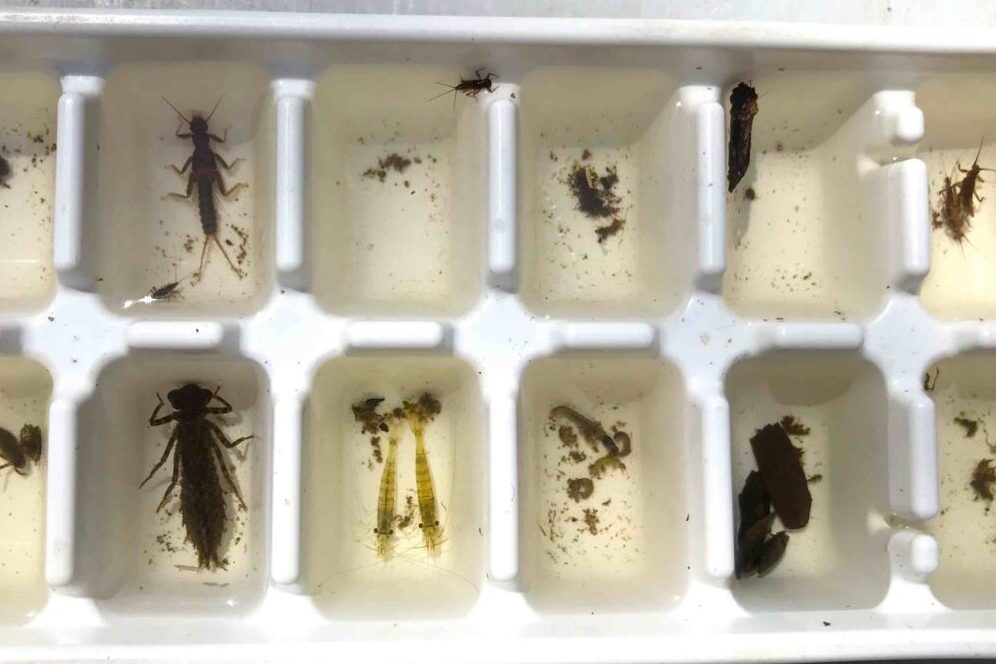
Sorting and Identifying
To examine your sample, pour small amounts into the white trays provided and use pipettes, tweezers, or spoons to gently transfer the bugs into an ice tray with a little water. Continue this process for 20 minutes, placing different bugs in separate sections of the ice tray to make identification easier. Use the ID sheets to identify and count each type of bug you find, and don’t worry, the project coordinator will be there to help!
Recording you data
After identifying the waterbugs, record your results on the data sheet provided. You can then assess the health of the creek by calculating a water quality score using the same method scientists use. Each bug has a signal score that reflects its sensitivity to pollution, bugs with higher scores need cleaner water to survive. To calculate the score, count the number of species found, add up their signal scores, and divide that total by the number of species. A higher score indicates cleaner water.